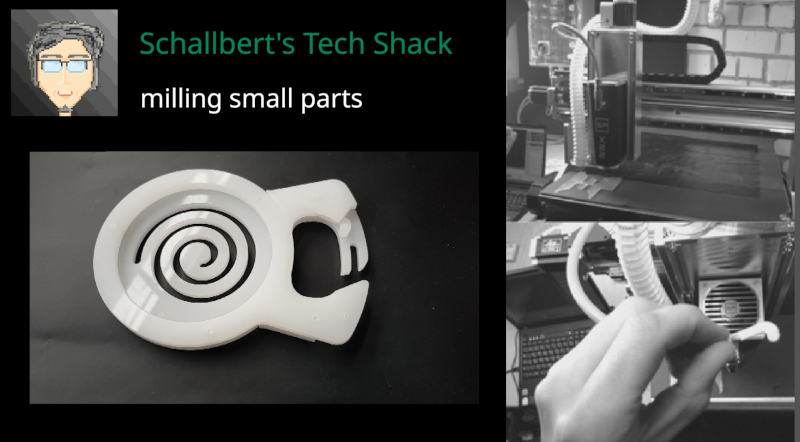
Milling small parts
Why milling?
It is sometimes hard to manufacture small parts in low quantities, especially when their dimensional tolerances have to be low. In this case, die casting wouldn’t be economical. Hobbyist 3D-printing machines wouldn’t deliver the low tolerances I need and affordable lasers wouldn’t be able to cut parts that are 2.5D (i.e. that don’t have an even surface). Plus, I’m not a fan of ordering parts from sweat shops half a globe away.
But still, milling these parts is perfectly possible. This video shows how:
What accessories are required?
All you need is:
- A vacuum table
- Vacuum pump, preferably supporting deep vacuum levels
- Some plastic wrap
- A Vacuum fleece
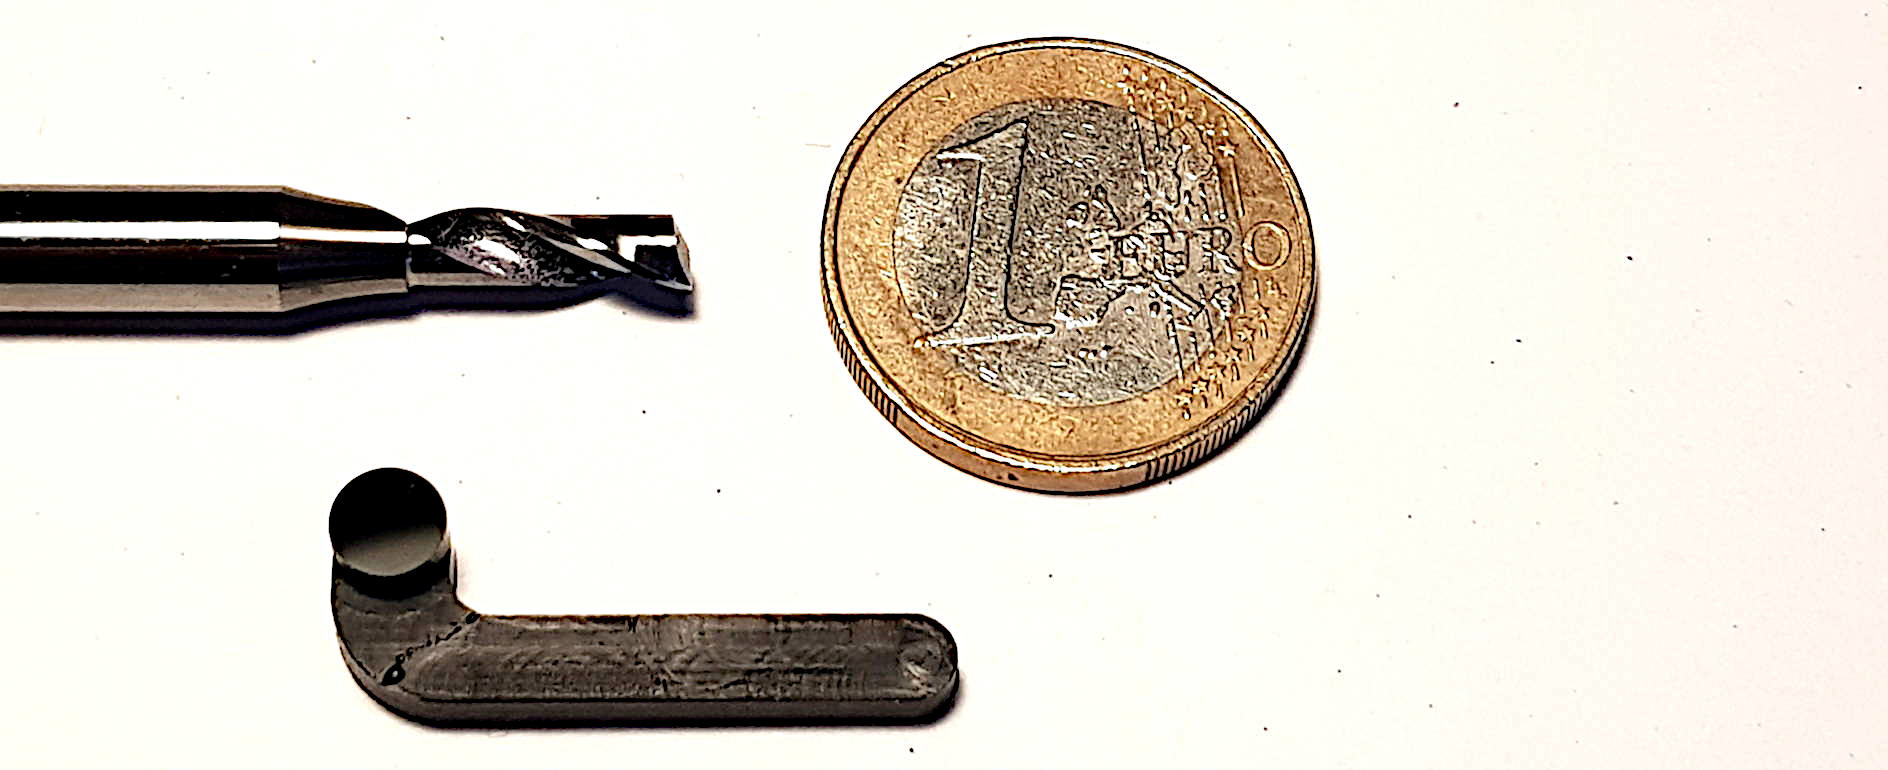
What is that part for?
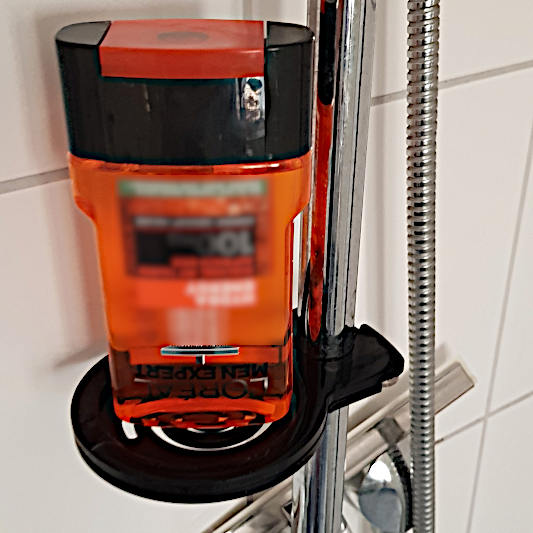
The part I’m fabricating in the video belongs to one of my soap butlers. The current version can be mounted to any shower rail with diameter 18-25mm, and needs this small part for clamping securely to the rail. It is in contact with the rail from the rear and both locks the soap butler in place, limiting its possible “wobble” movement in Z-direction.
This way, not only soap bar shampoos can be placed here, but also much heavier shampoo bottles.
The part has to fit in snugly as it shall be able to slide without noticeable play, but still has to move effortlessly to adjust to different shower rail diameters.
What else do I need to consider?
- plastic wrap: make sure the cutouts you do are not too big. Else, the plastic wrap will be pulled in by the endmill, wrap it, and leave marks on the workpiece. It imbalances the cutter and may cause additional damage this way. To avoid this, use double-sided tape to secure the wrap where you do the cutouts.
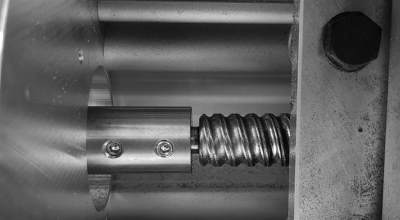
- vacuum fleece: Note that the fleece will be compressed when you apply vacuum. Z-zero height of workpiece surface has to be taken with vacuum applied to get accurate results.
- Don’t cut all the way through. Leave an onion skin. Its strength depends on the material you work with. For PMMA I use
0.3mm, for wood0.7mm. - I don’t account for wrap strength. I know that thicker protective wraps e.g. for PMMA and Dibond have a strength of
20-30µm(where I calculate with it), so I’d assume the plastic wrap I use is less than10µmwhich is in the magnitude of machine accuracy.